The Fundamentals – Pizza Dough
Home-made pizzas are always a crowd pleaser, whether it’s for a big dinner party, or for a quiet family dinner. And what is more impressive, is if you made everything from scratch, including the dough.
A good friend of mine, who is also a fantastic chef, taught me this home-made pizza crust recipe. We used to have gluttonous feasts (with cases of Bordeaux for wine pairing) at her place before she moved back to Paris with her husband. Now, I try to recreate a little bit of her dinner party magic with this recipe in my own kitchen.
Pizza dough sounds like a notoriously tedious task, when in actuality, it’s one of the simplest doughs to make. Another bonus is that it freezes well, so you can make a batch, wrap each portion in plastic wrap, and use whenever you’re in the mood for good pizza.
Below is my fundamental course on pizza dough making, which is very similar to my pate brisee lesson, so you can experiment and play with different flavours once you’ve got the basics down.
What you’ll need (makes dough for 1 large pizza):
- 4 cups of flour
- 1 tsp salt
- 1/2 tsp sugar
- 1.5 cup lukewarm water
- 1 tbls olive oil
- 7grams of fast action yeast
- herbs (thyme, sage, oregon etc)
Start by combining the dry yeast (I use Hovis) with sugar. Dry yeasts are actually little capsules filled with living organisms, and once mixed with water and sugar, life is released and the sugar feeds the yeasts. This little organisms are what helps dough rise.
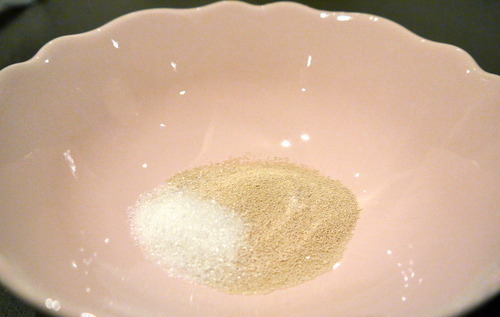
Mix in 1.5cup of lukewarm water with the yeasts. Watch the yeast start to bubble and foam. Let that sit for 10 minutes so the little organisms get nice and happy.
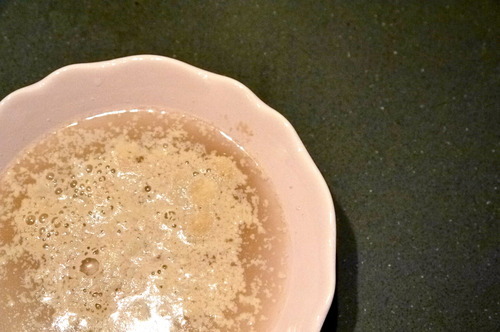
Meanwhile, prepare the dry ingredients. Mix together flour, salt and herbs. I love adding dried herbs to dough mixes, so the flavour fully infuse into the crust and give you nice bursts of intense aromas when you bite into the pizza. One of my most loved herbs is thyme, so I love adding this to my pizza dough. Add as much, or as little, as you want.
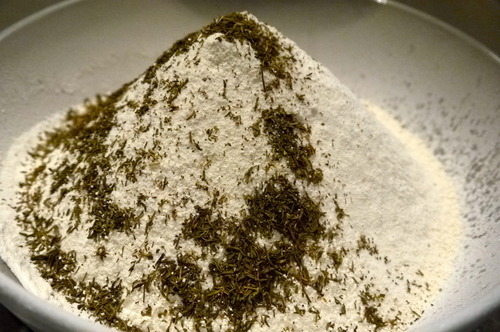
After the yeast mixture has come to life, mix it into the dry ingredients, along with a bit of olive oil.
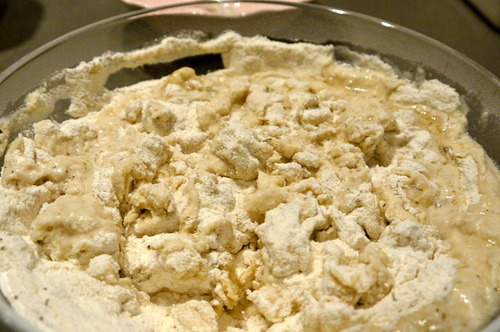
Start kneading the dough so everything becomes well incorporated and evenly distributed. This is a great arm workout! And the best thing is that you get rewarded with pizza afterwards!
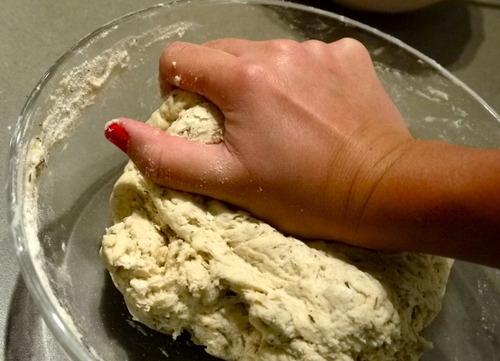
Form the dough roughly into a ball.
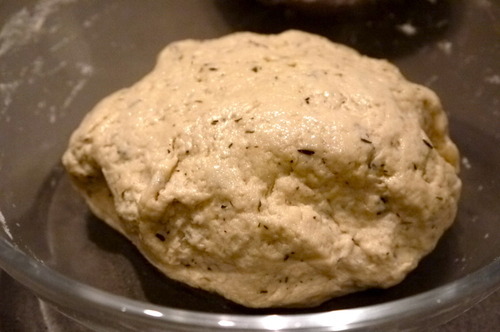
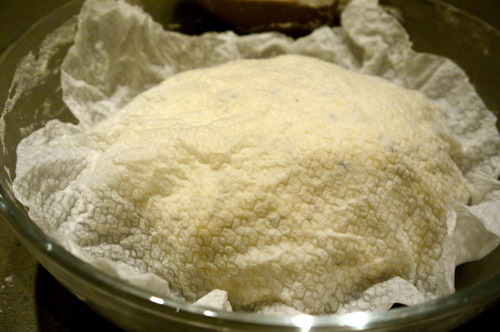
Scrunch up a piece of kitchen paper and run it through the tap. Squeeze out any excess water and cover the dough with it.
Place the covered dough in a hot place – either under the sun, or in a 35degrees celsius oven, or just about anywhere without air-con during stifling Hong Kong summers. Let the dough rest for around 50 minutes.
After 50-60 minutes, the dough should have risen to almost double its original size. This is because the little yeast organisms have been happily working their magic.
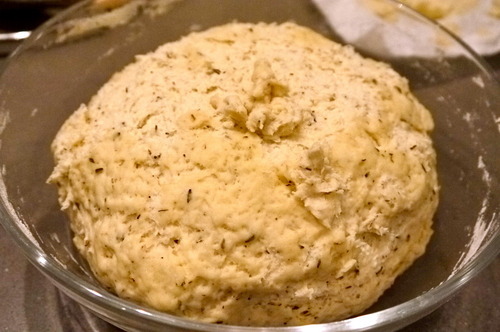
Now, here’s a fun part – punch the dough to release excess air. This is a great way to channel your aggression, and make for a wonderful bit of anger management. If you need inspiration, just imagine trying to squeeze through crowded Queen’s Road Central during lunch time, and having the people in front of you (who are, by the way, all holding hands) stop abruptly. This usually helps peak my anger / frustration level!
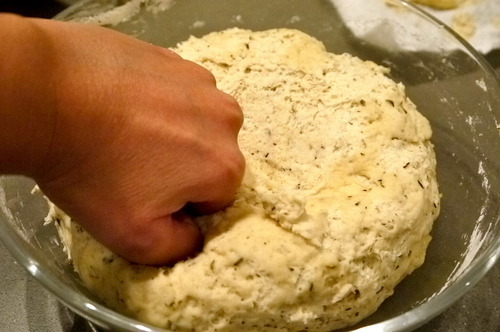
After punching the dough for a few minutes (and having plenty of fun!), knead the dough again so you can roll it out to the desired crust size.
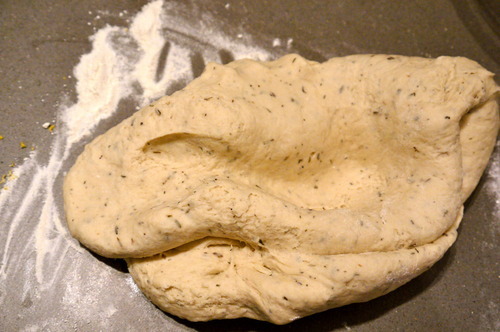
I like to make square pizzas, mainly because it fits exactly into my baking tray without me having to get new pizza stones. My pizza crust looks less than perfect, but it’s this rustic charm that makes home-made pizza stand out from store-bought varieties. Be creative with your pizza toppings, and you’re guaranteed a delicious and fun meal.
I’ve experimented with various flavour combos: gorgonzola / pear, arugula & pesto / tomato, pepperoni / sun-dried tomatoes / portabello, pepperoni / roasted garlic, mushroom – basically, your imagination is really your only limitation.
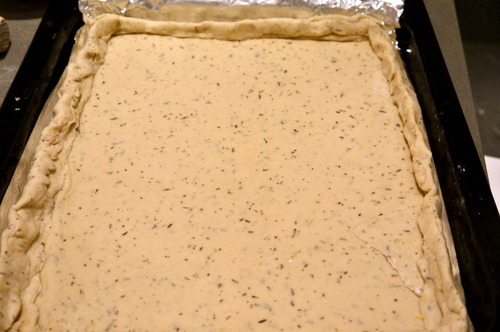
Bon Appetit!


No Comments
Trackbacks/Pingbacks